← View series: ibm ai engineering
~/blog
Table of Contents

Activation function and Maxpooling
Objective for this Notebook
1. Learn how to apply an activation function.
2. Learn about max pooling.
Table of Contents
In this lab, you will learn two important components in building a convolutional neural network. The first is applying an activation function, which is analogous to building a regular network. You will also learn about max pooling. Max pooling reduces the number of parameters and makes the network less susceptible to changes in the image.
Estimated Time Needed: 25 min
Import the following libraries:
import torch
import torch.nn as nn
import matplotlib.pyplot as plt
import numpy as np
from scipy import ndimage, misc
Activation Functions
Just like a neural network, you apply an activation function to the activation map as shown in the following image:

Create a kernel and image as usual. Set the bias to zero:
conv = nn.Conv2d(in_channels=1, out_channels=1,kernel_size=3)
Gx=torch.tensor([[1.0,0,-1.0],[2.0,0,-2.0],[1.0,0,-1.0]])
conv.state_dict()['weight'][0][0]=Gx
conv.state_dict()['bias'][0]=0.0
conv.state_dict()image=torch.zeros(1,1,5,5)
image[0,0,:,2]=1
imageThe following image shows the image and kernel:
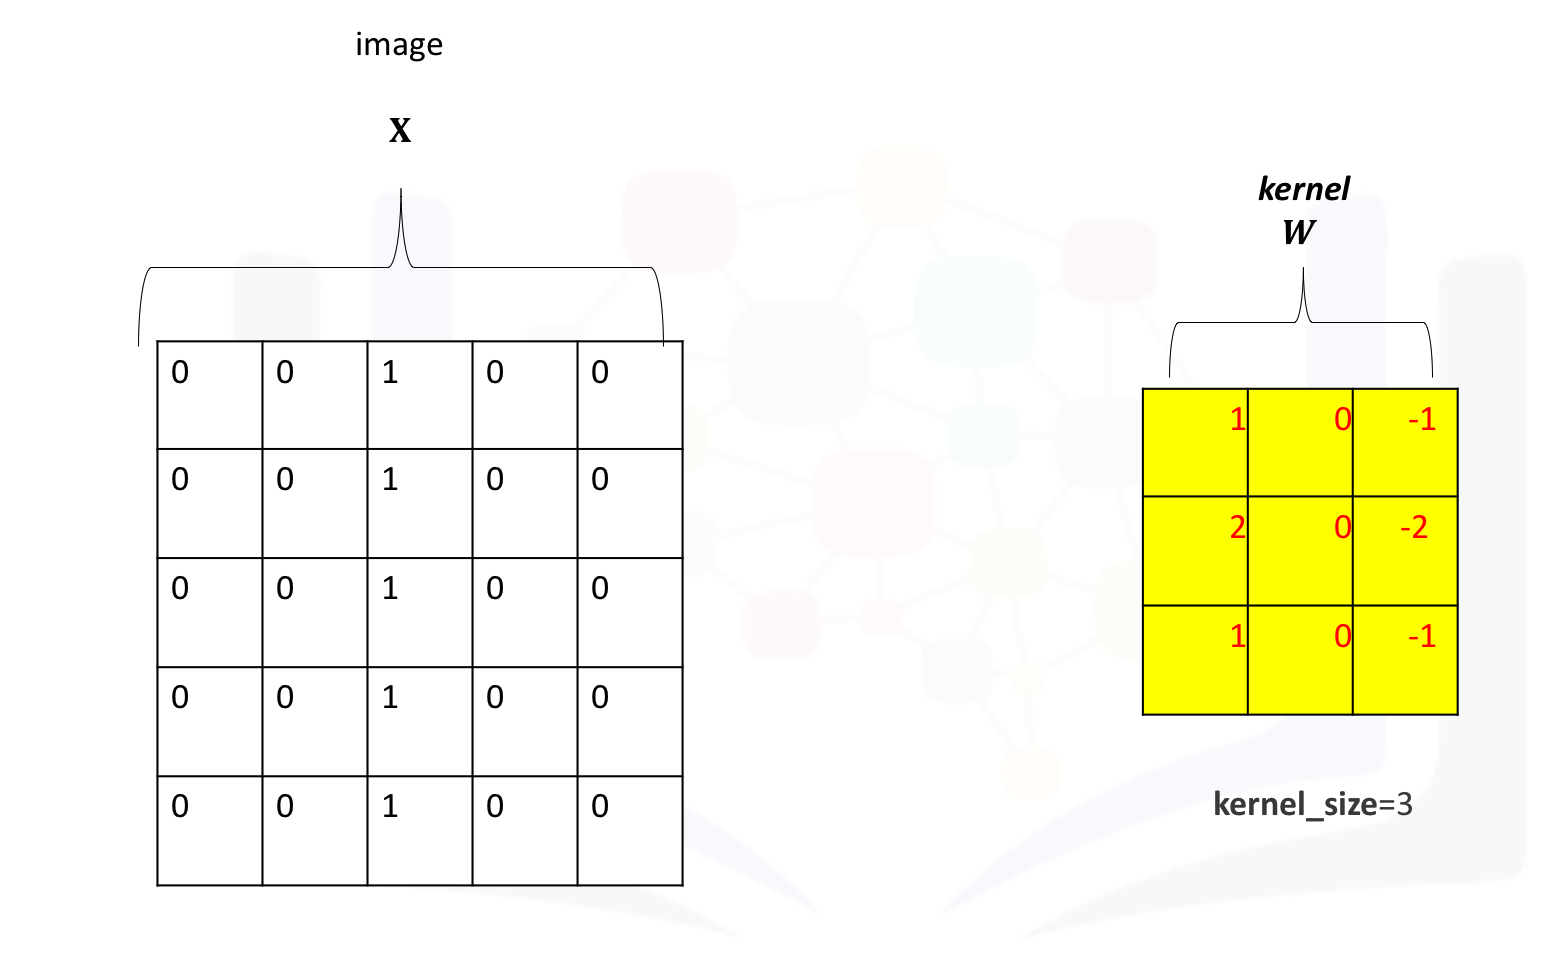
Apply convolution to the image:
Z=conv(image)
Z
Apply the activation function to the activation map. This will apply the activation function to each element in the activation map.
A=torch.relu(Z)
Arelu = nn.ReLU()
relu(Z)The process is summarized in the the following figure. The Relu function is applied to each element. All the elements less than zero are mapped to zero. The remaining components do not change.
Max Pooling
Consider the following image:
image1=torch.zeros(1,1,4,4)
image1[0,0,0,:]=torch.tensor([1.0,2.0,3.0,-4.0])
image1[0,0,1,:]=torch.tensor([0.0,2.0,-3.0,0.0])
image1[0,0,2,:]=torch.tensor([0.0,2.0,3.0,1.0])

image1
Max pooling simply takes the maximum value in each region. Consider the following image. For the first region, max pooling simply takes the largest element in a yellow region.

The region shifts, and the process is repeated. The process is similar to convolution and is demonstrated in the following figure:
Create a maxpooling object in 2d as follows and perform max pooling as follows:
max1=torch.nn.MaxPool2d(2,stride=1)
max1(image1)
If the stride is set to None (its defaults setting), the process will simply take the maximum in a prescribed area and shift over accordingly as shown in the following figure:
Here's the code in Pytorch:
max1=torch.nn.MaxPool2d(2)
max1(image1)
About the Authors:
Joseph Santarcangelo has a PhD in Electrical Engineering. His research focused on using machine learning, signal processing, and computer vision to determine how videos impact human cognition.
Other contributors: Michelle Carey, Mavis Zhou